
Simple Bag Tutorial
Please Note: - This is a very simple bag. It is unlined and uses ribbon as handles. Please, use accordingly.
- Also, I apologize in advance for the dark pictures and not having illustrations for some of the steps.
- Thank you for taking the time to read through it, though. :-)
Supplies:
At least 1/2 yard of
fabric
Ribbon (at least
30" depending on your
Preferred
handle length)
Thread
Cardboard or thick
craft foam (optional)
Sewing machine
Marking tool (pen,
chalk, whatever)
Ruler (at least
18")
Scissors or rotary
tool/mat
Pinking shears
(zigzag cut, optional)
Prep steps
It is best to wash
and iron (if necessary) your fabric so that it is easy to match up edges and
seams. In my pictures, I didn't because I didn't want to spend the time on it
and it was meant to be a quick project.
Once your fabric has
been prepped, lay it out and decide if you want an East/West or North/South
oriented bag (think: wide vs. tall). That will determine which side you leave
open. Both of my bags are East/West.
- Lay out material.
- Measure out 18" (high) by half the width of your material
- Cut out pattern pieces
- Pin pieces with right sides together.
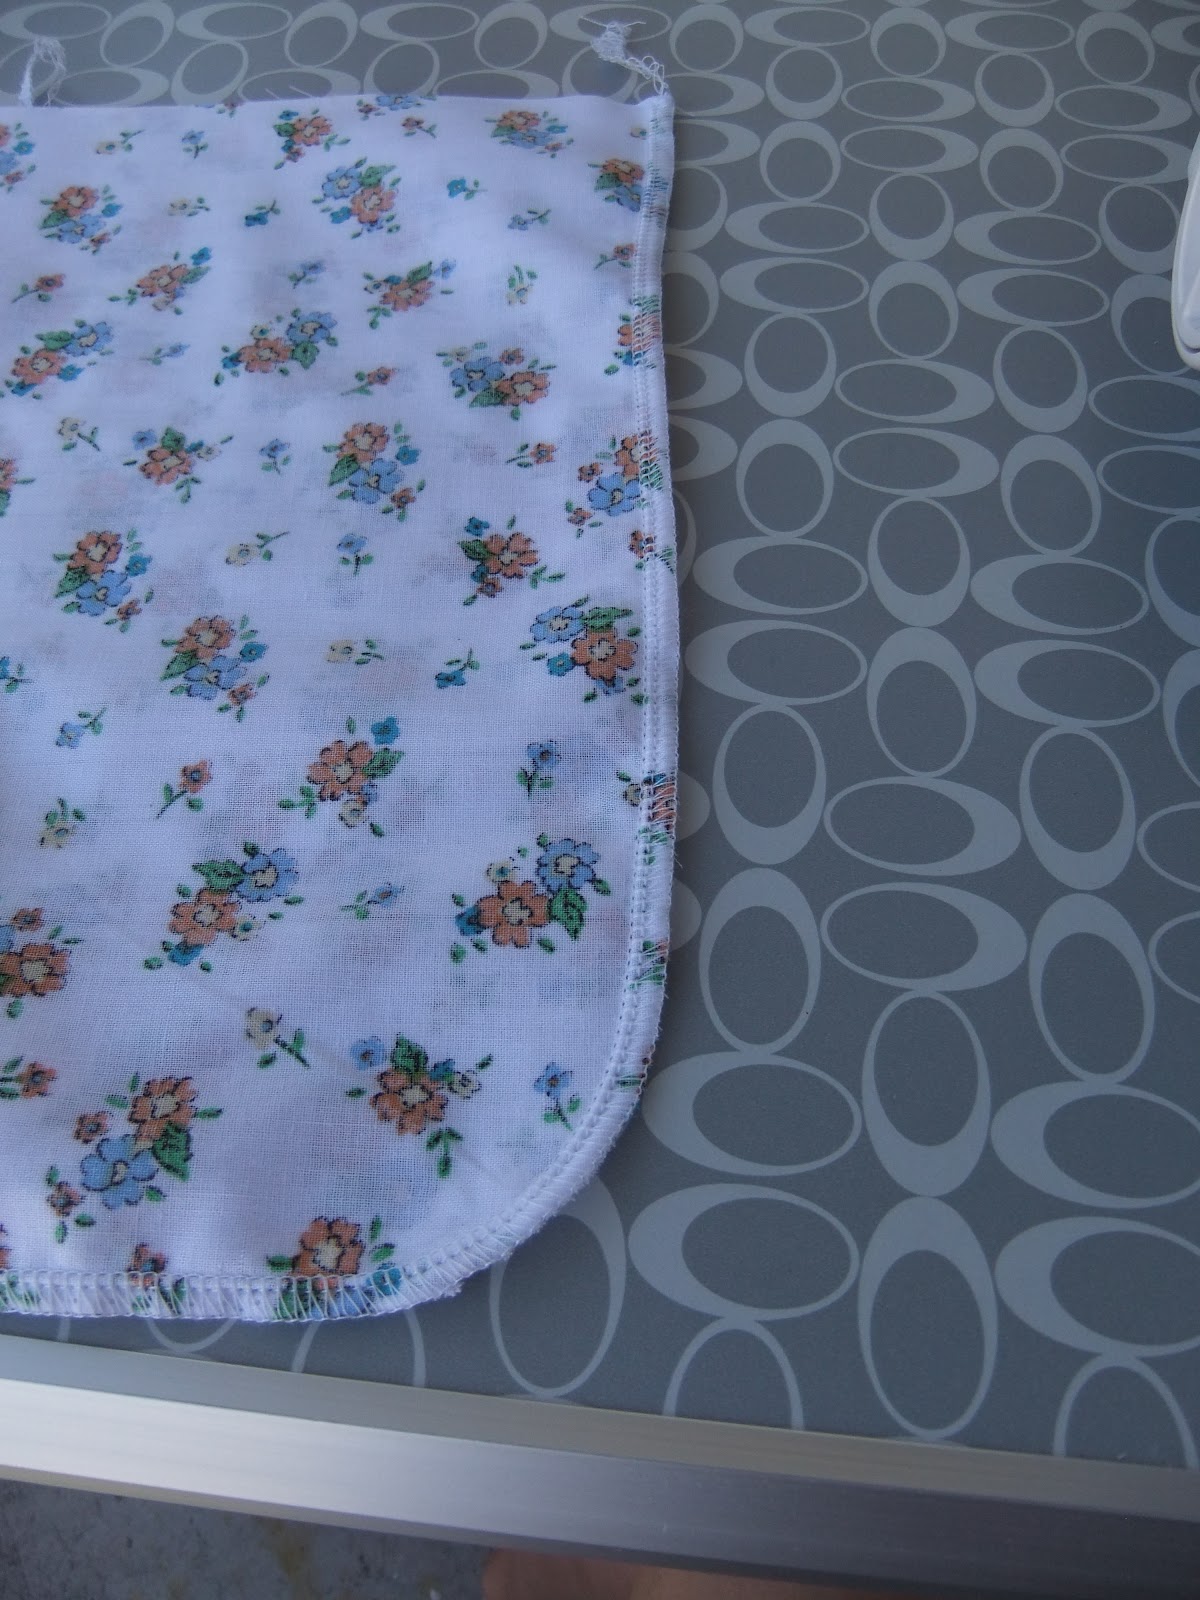
- Serge (or sew) edges together leaving one side open for top of bag.
- Fold down top edge twice so that raw edge will be in fold.
- Measure and cut 2x15" pieces of ribbon.
- Mark where all handles should be sewn into top seam and pin in place.
- Zig Zag Stitch around top edge using widest stitch width to catch under-folded edge.
- Measure 3" in from seam on upper edge (toward handles) and mark with a dot. Then measure up 2" from bottom on side seam and mark with another dot. Repeat for other side seam.
- Connect marked dots creating a diagonal line slanting toward outer edges of bag.
- Sew along marked line using a straight stitch.
- Use pinking shears (or scissors) to cut edges.
- Turn bag right side out.


No comments:
Post a Comment